How to Design a Wonderful Media Kit Quickly + Free Template
Nowadays you might hear about the Media kit template that many Bloggers and publishers are so much interested to design their own. And some of us maybe not heard yet about the Media kit template.

What Is Media Kit?
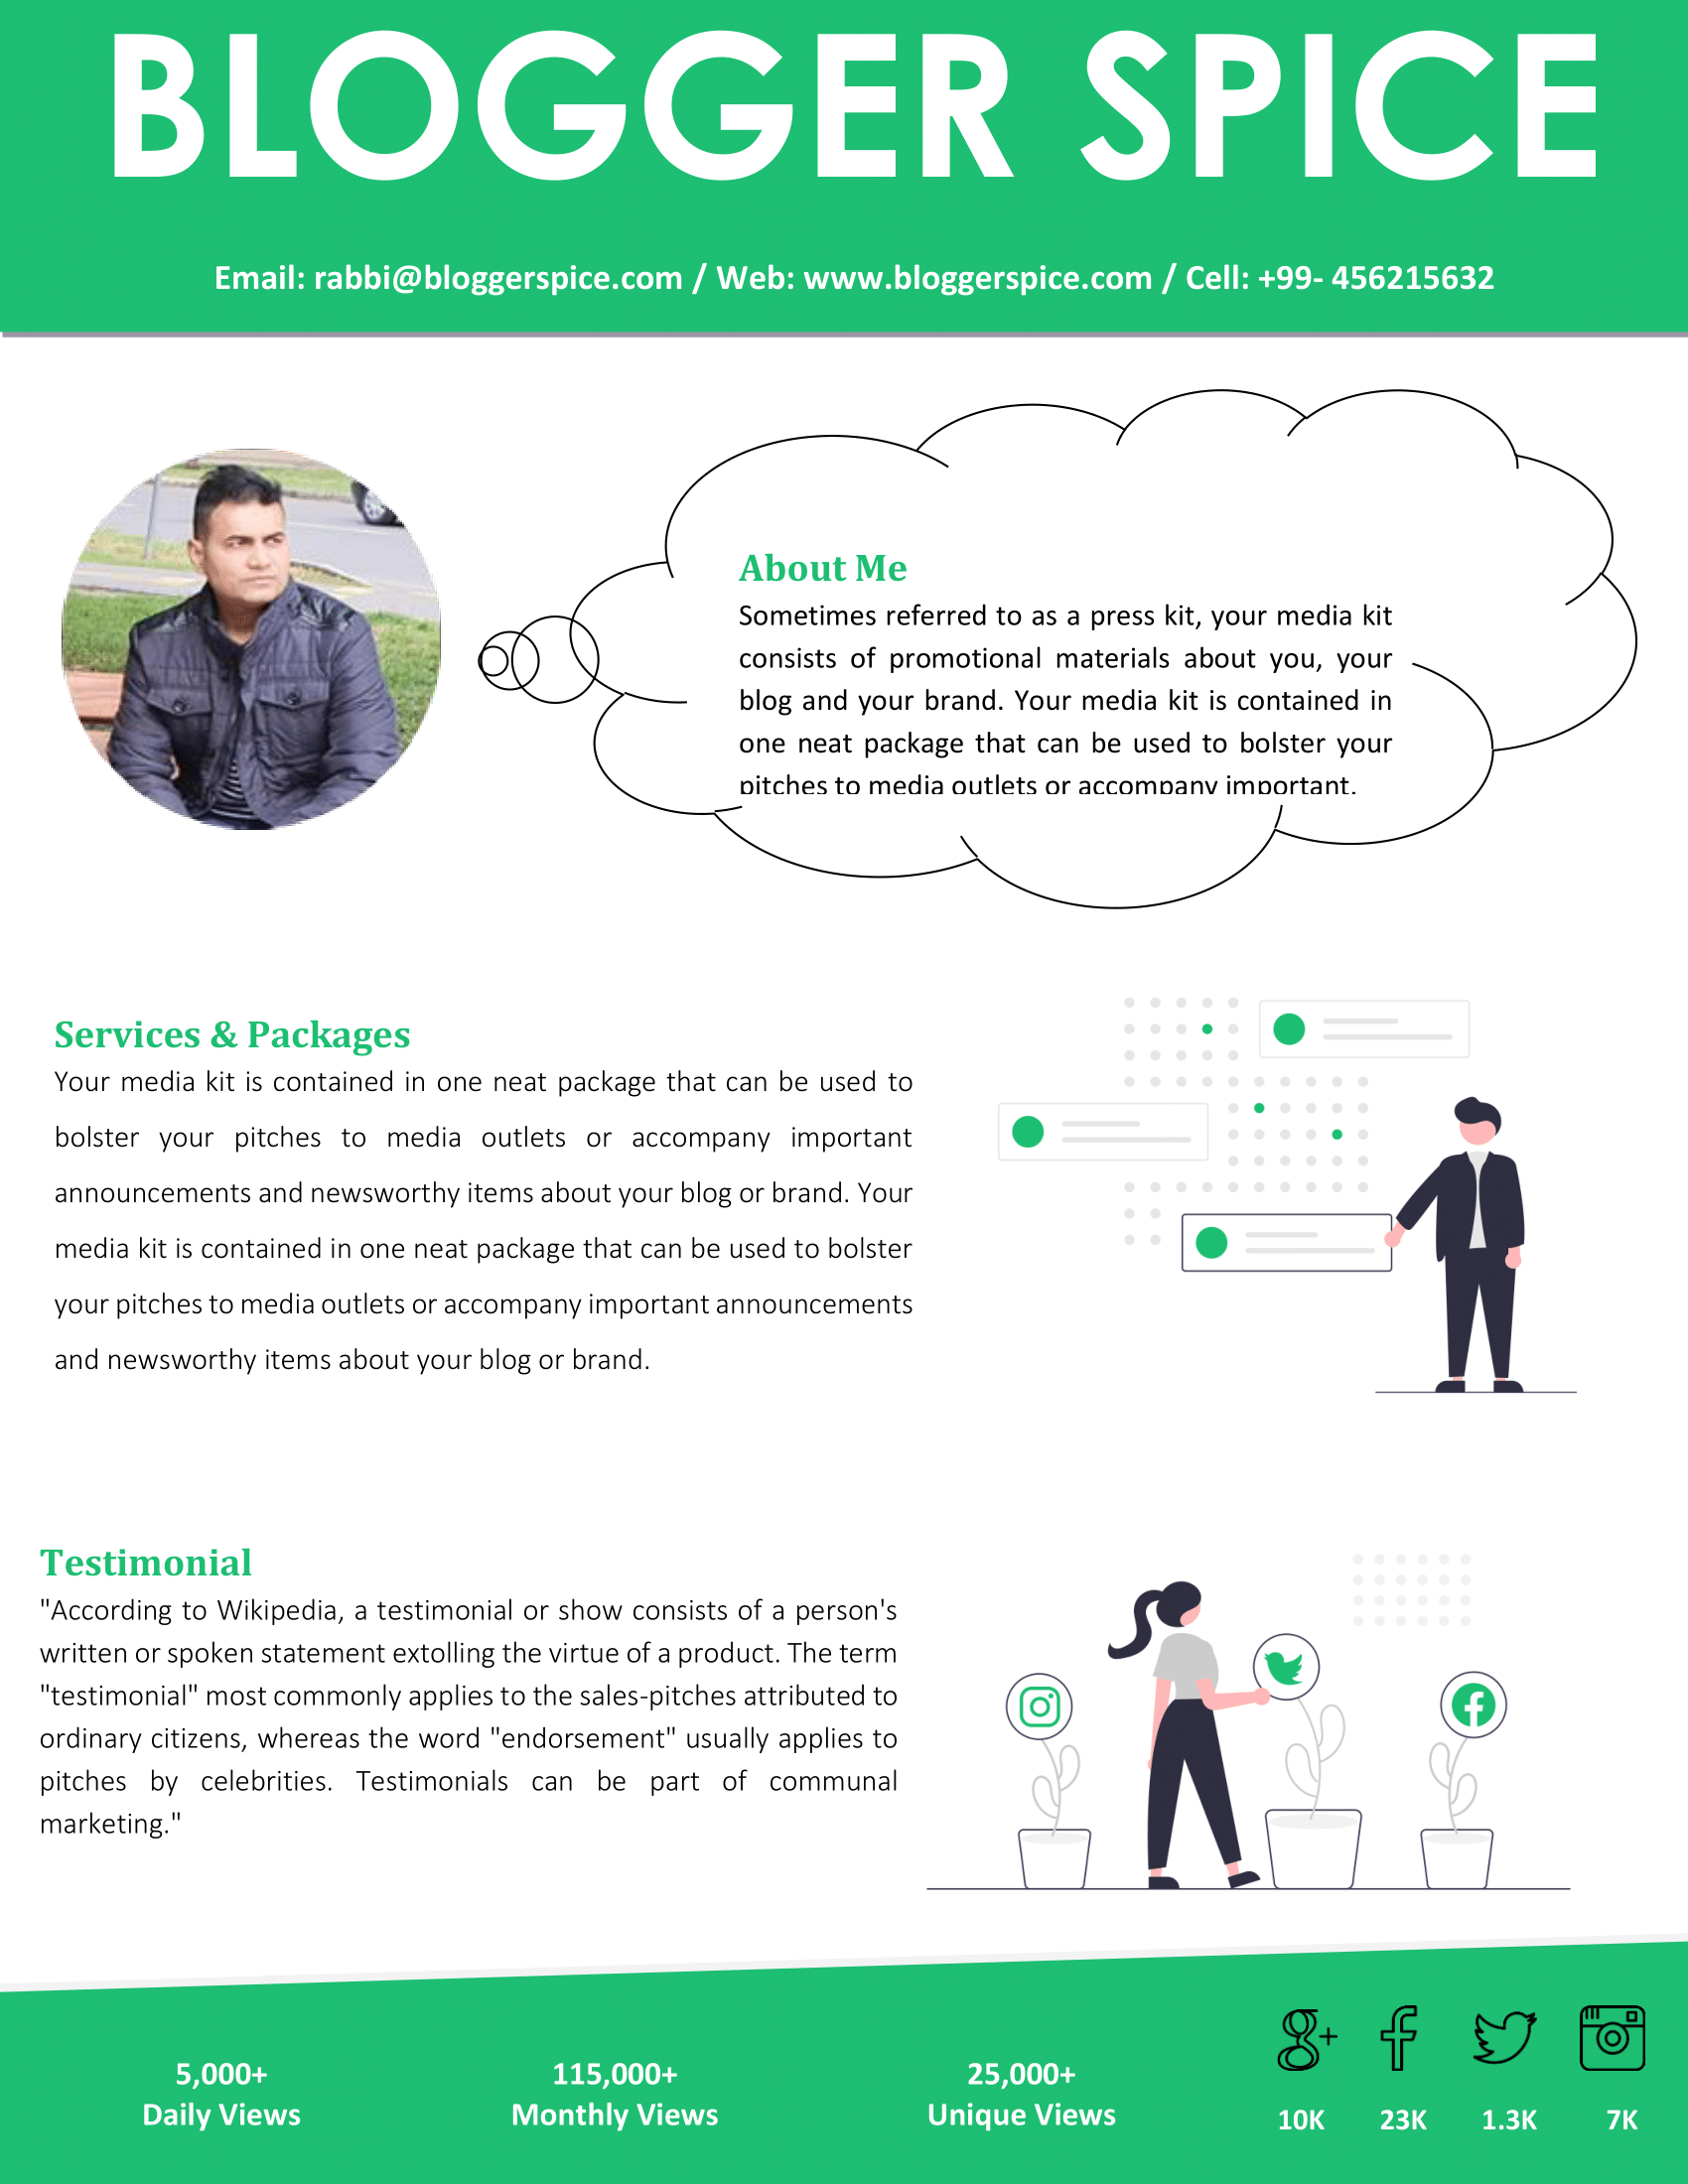
The media kit is a document usually design in Photoshop, document, PDF or PowerPoint – that outlines the key information and statistics about your Business and Blog.
Media kit evolves for connecting your Blog with potential sponsors and marketers, through media kit you can show up a slice of your Blog information on a single page. And it can be created by PhotoShop, Microsoft Word, Powerpoint.
Why you should design a Media Kit?
A media kit helps to collaborate with potential advertisers or brand by providing current information about your blog or website. In addition, Media Kits will help you to get more clients by attracting more sponsors & ultimately you can boost your income.
 |
| MediaKit Template Design |
What’s Goes inside a Media Kit?
- Your Name
- Contact Info
- Your Photo
- Blog Title and URL
- Short Bio
- Demographics
- Graphics
- Statistics
- Social Media Followers
- Number of Email Subscribers
- Tagline
- Testimonials and Previous Works
- Partnership Opportunities
- Your Name – This may be the first element of a Media kit template because marketers always want to know the name of the Blogger or Business owner.
- Contact Info – This is necessary for potential sponsors or brand thus they can communicate with you. You can include your email address and your physical office address.
- Your Photo – Photos bring more credibility to a Media kit template. If you add your own photo then your media kit will be trusted by more people.
- Blog Title and URL – This is a great opportunity to divert potential marketers to your Blog and show them your Blog brand name and website URL. If you own a good Blog then you can positively approach new sponsors.
- Short Bio – Let your sponsors know you more. Write a wonderful short bio about you and your Blog. You can add a bit of detail like your Blog age, Your Blog niche, Topics you write about. Try to be personable thus after reading your bio advertisers feels your Blog is perfect for a sponsor.
- Demographics – This information gives a more specific idea about your Blog readers group. Write the main readers of your blog according to Gender, age and interest.
- Graphics – Generally Media kit template consists of a lot of texts. And marketer may not feel interested by reading your text only. They may think your information is quite boring. So to make it attractive use a few graphics if possible. You can use your Blog logo, Social media icons and some of your Epic Blog post’s images in a gallery.
- Statistics – This is another important part of a Media kit. Your potential sponsors or brands will get an idea of what outcomes will from your Website or Blog after working with you. And they can easily understand the size of your Blog audience and reach. You can include information about your Daily, Monthly pageviews and Unique visitors. Additionally, you can add your Blog referral information.
- Social Media Followers – Marketers are interested to know information about your social media profile. How many fans and followers do you have? Because this is mostly affecting their sponsoring decision.
- A number of Email Subscribers – For every Blog email list building necessary to become more personate with visitors. Suppose you won’t buy anything from a stranger after taking it with him the first time. But if you can build relationships with them through email then you can boost your sales. Marketers take this issue very important and if many subscribers are on your list then more sponsors will be interested to work with you.
- Tagline - This is optional but sometimes become handy. From the tagline, Marketer will understand your Blog niche and particular categories. Relevant brand sponsor will count tagline information positively.
- Testimonials and Previous Works – Here is a great opportunity to show up your previous work and testimonial. You must add your previous brand's logo, as well as a critical case study from your previous work that shows the results of that previous campaign, such as, how many giveaway entries and click-throughs, were received).
- Partnership Opportunities – In this section, you can add your services you offer and other information for partnering, such as sponsored posts, product review, advertisement opportunities, Advertising Rates, Social media marketing, affiliate marketing etc. After getting your partnership info marketer can easily reach out to you.
How to Design a Media Kit Template? (Step-by-step guideline)
There are many template designers who can design your media kit template at a competitive price. The price range would be $20 to $60. It’s expensive for a new blogger, so I’ll teach you how to create your own Media kit template free of cost and without spending a single penny.
Many of us think that for creating a Media kit template we have to use PhotoShop and other advanced software but trust me you can make a Professional, stylish and Modern Media kit template free of cost by using Microsoft Word. And it will take less than 1 hour to complete the design. You might think I’m joking. I’m taking it seriously, just go through the below step-by-step guideline to design your own Media kit template. Let’s do this!
Microsoft Word and save the file first by giving a name e.g. Media kit Page Layout Click Margins and select Custom Margins. Now Page Setup a window will pop up and ask you to adjust the Margins. Enter 0 for ‘Top’, ‘Bottom’, ‘Left’, ‘Right, and ‘Gutter’. Click the ‘ok’ button. That way can remove all white space from your Media kit template.  |
| Setting up the Margin in Microsoft Word |
 |
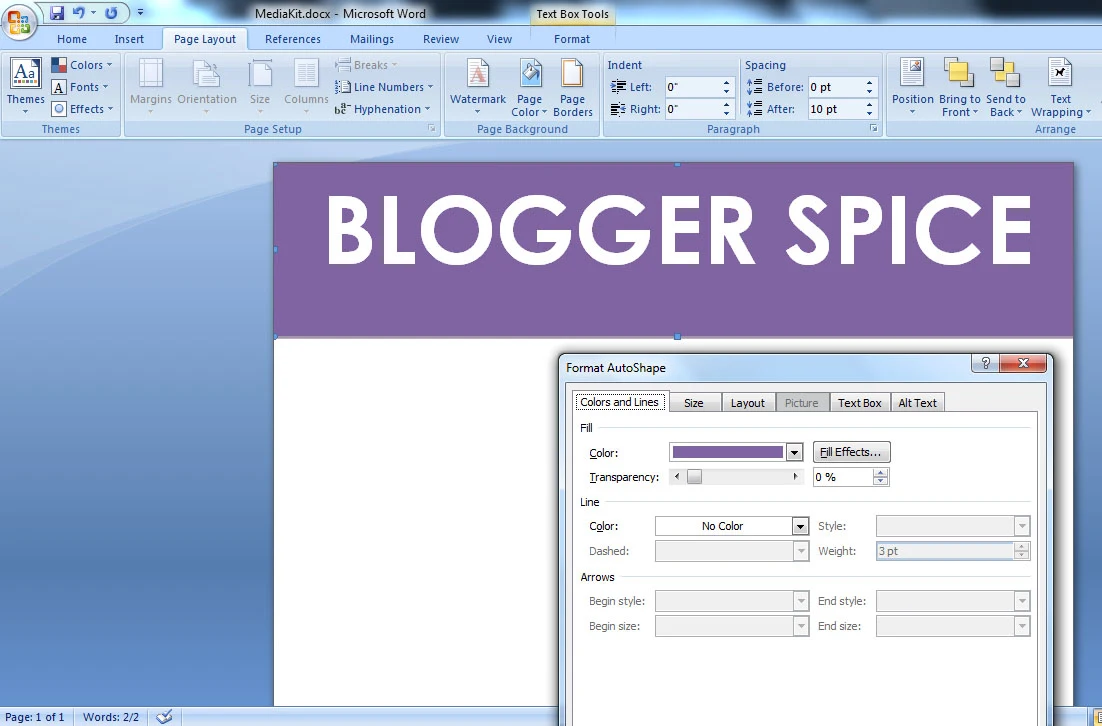
| Adding and Formatting Shape in Word for MediaKit template Header |
 |
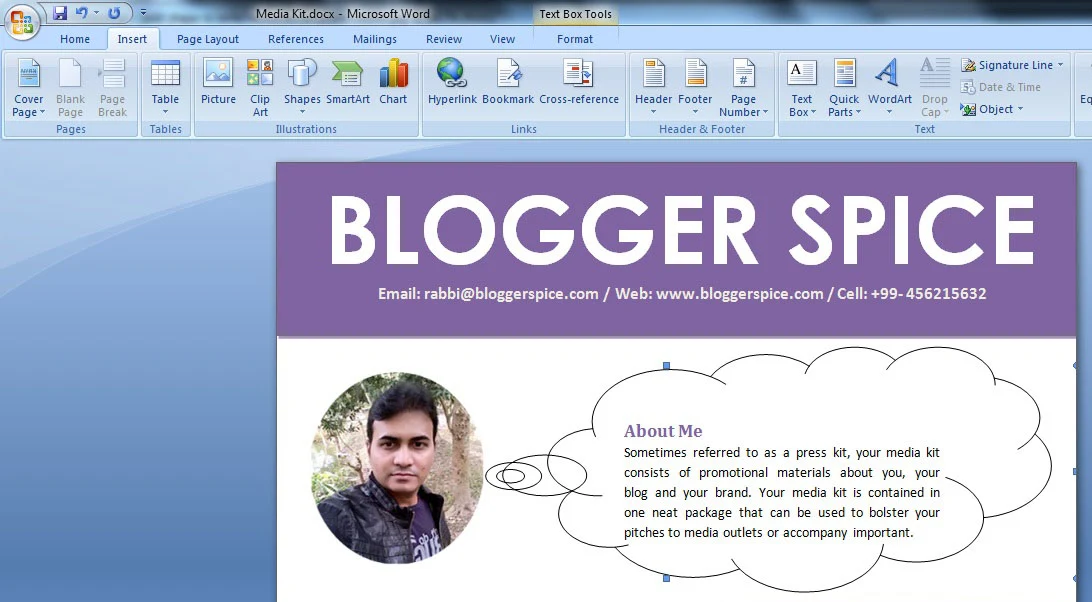
| Adding image and about me section in a Cloud on Media kit |
 |
| Adding Service Section in Media Kit design |
 |
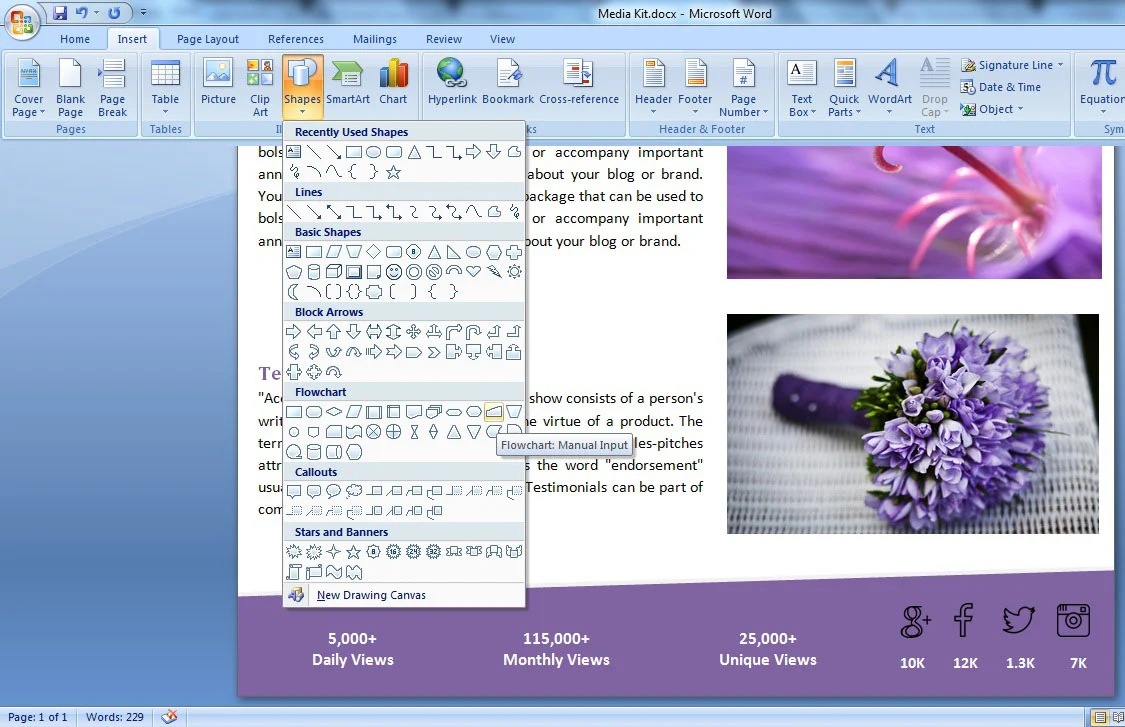
| Adding Shape for Blog and Social Media Statistics |

3 comments