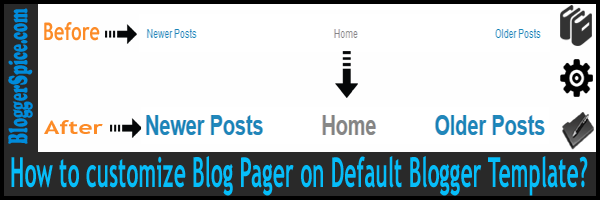
How to customize Blog Pager on Default Blogger Template?
How to change Next, Previous and Home links Text on Blogger Default Template
Blogger default template use have
seen that they are using simple Next, Previous
and Home links to navigate. But those navigation system is quite boring
if any user use for longer time. Many blog user use custom image to change the Next,
Previous and Home link but we can easily
add a small piece of CSS code to change the total outlook of Next,
Previous and Home links.
Step 1 Log in to your Blogger Account and Go to
your Blogger Dashboard
Step 2 Click on Now click
on -> Template -> Edit HTML->
Step 3 Now find the </b:skin> by
pressing Ctrl+F
Step 4 Copy and Paste any code from below code
above/before </b:skin>
.blog-pager {
border-top:1px dashed #0066CC;
font:normal bold 230% Arial, sans-serif;
padding:1.5em 0 2.5em 0;
}
Step 5 And hit the Save template button.
Customization
- Alter Color of the top border by changing color code value #0066CC
- Change 230% to 200% or 240% for decrease or increase the link Text size.
- Alter Arial, sans-serif for changing the Text Size.
Cool!!
you have successfully re-sized and added the custom Blog Pager on Default
Blogger Template. After mouse over Text underline will be visible. If you need any extra support then leave your comment below.


Post a Comment