How to Add Caption in New Blogger Post Image?
In the new Blogger interface, If you can find no provision for adding/managing captions to images, then this tutorial is suitable for you.
Image Caption is massively used in image-based Blogs. Generally, We see different journals or magazines a small piece of a sentence written below the Image that explains the subject or theme of the Image.
Similarly, in Blogger Blog Post we often add a caption for a better understanding of the Image. Suppose a Blogger has written a long paragraph and the Image is placed in the wrong space in that case if s/he added a Caption for the Blog Image then readers can easily understand. So this is very important to add a caption to the Image. Many bloggers add irrelevant images which are pointless to use on posts.

Adding Captions to Photos in the New Blogger Post Editor
In this tutorial, I will show you how we can add Image captions easily. Please follow the below steps that might help add an image caption.
Step 1: Log in to your Blogger Account and Go to your Blogger Dashboard
Step 2: Click on the +New post button to create a new post. Later In the blogger post editor Uploads an
image.
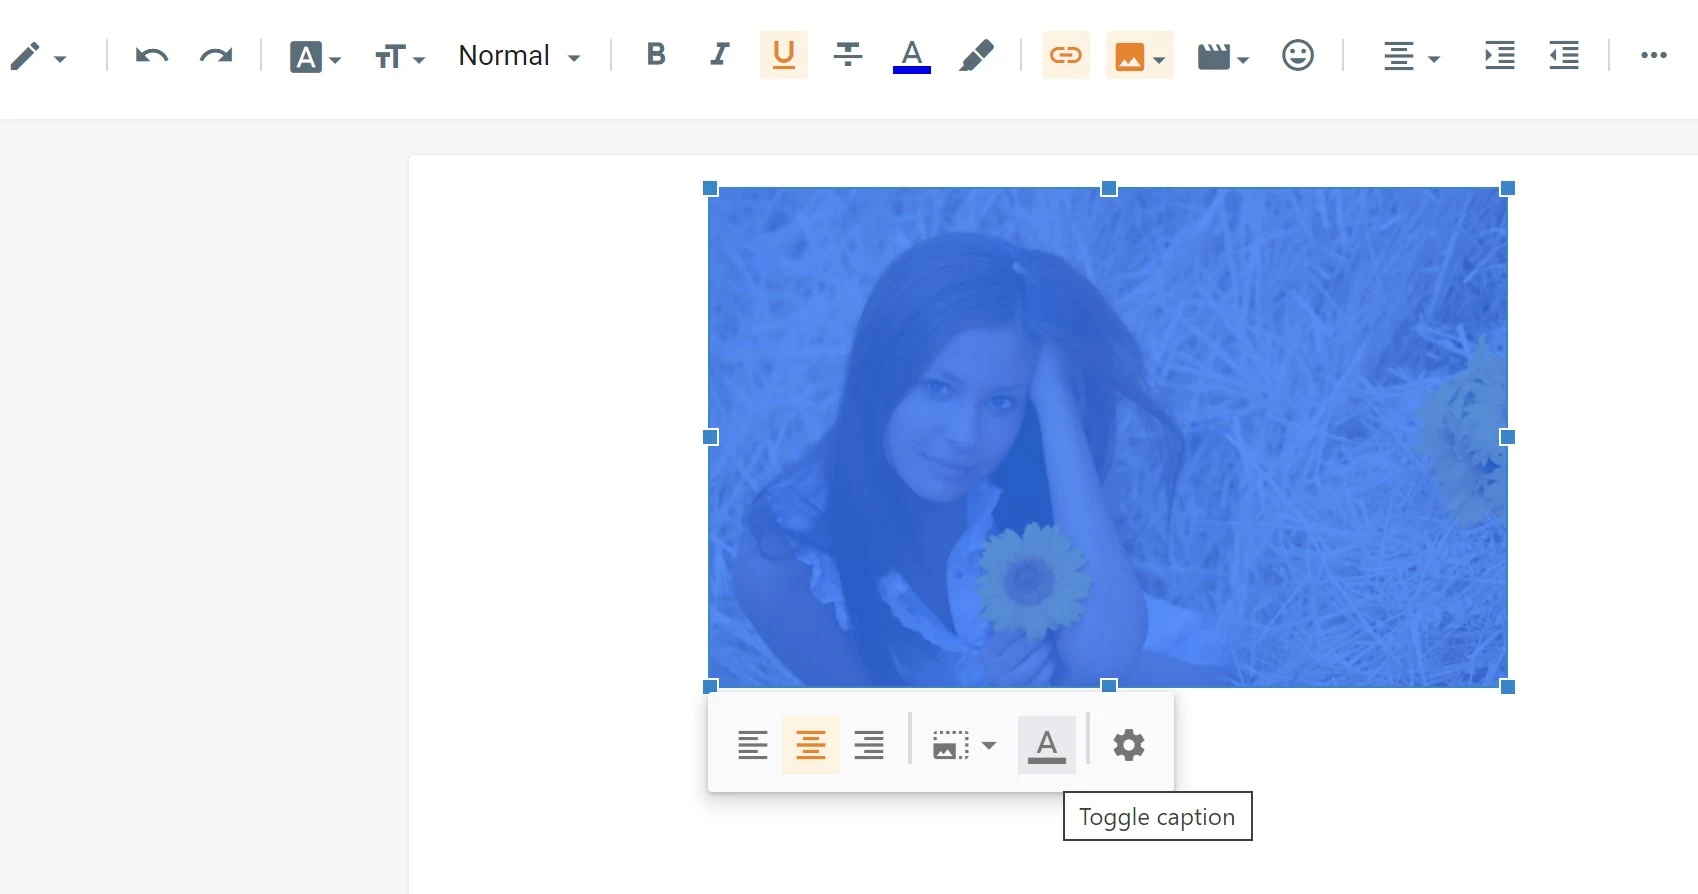
Step 3: Now Click on Image from Blogger Post editor. A popup image
Toolbar will visible with the Toggle caption option.

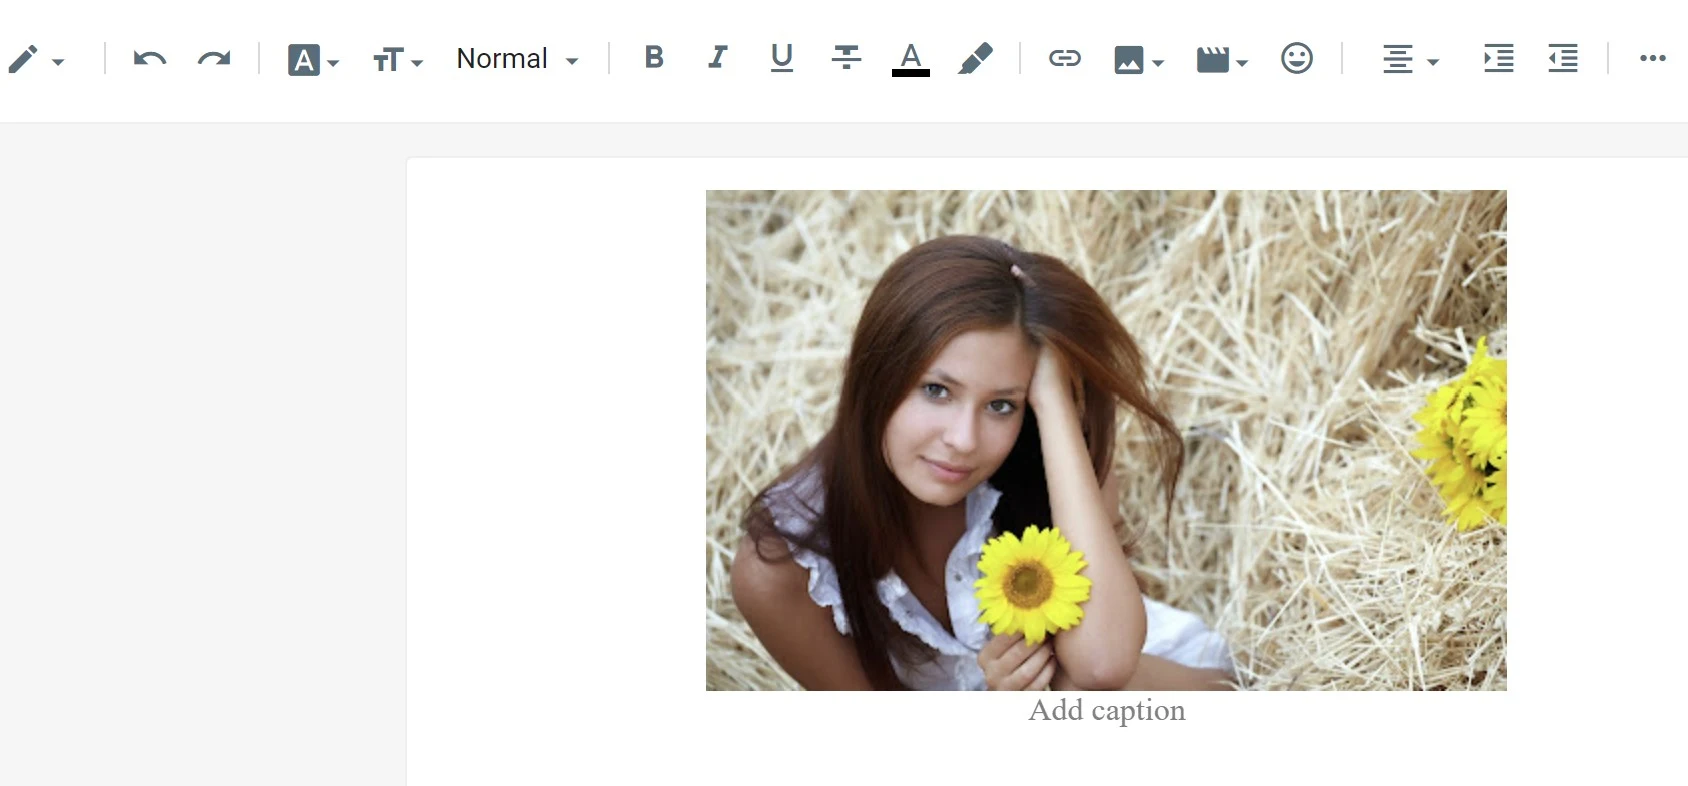
Step 4: You will see an option on the formatting toolbar to Add caption text.

Step 5: Now click on Add caption option and write a few words about the
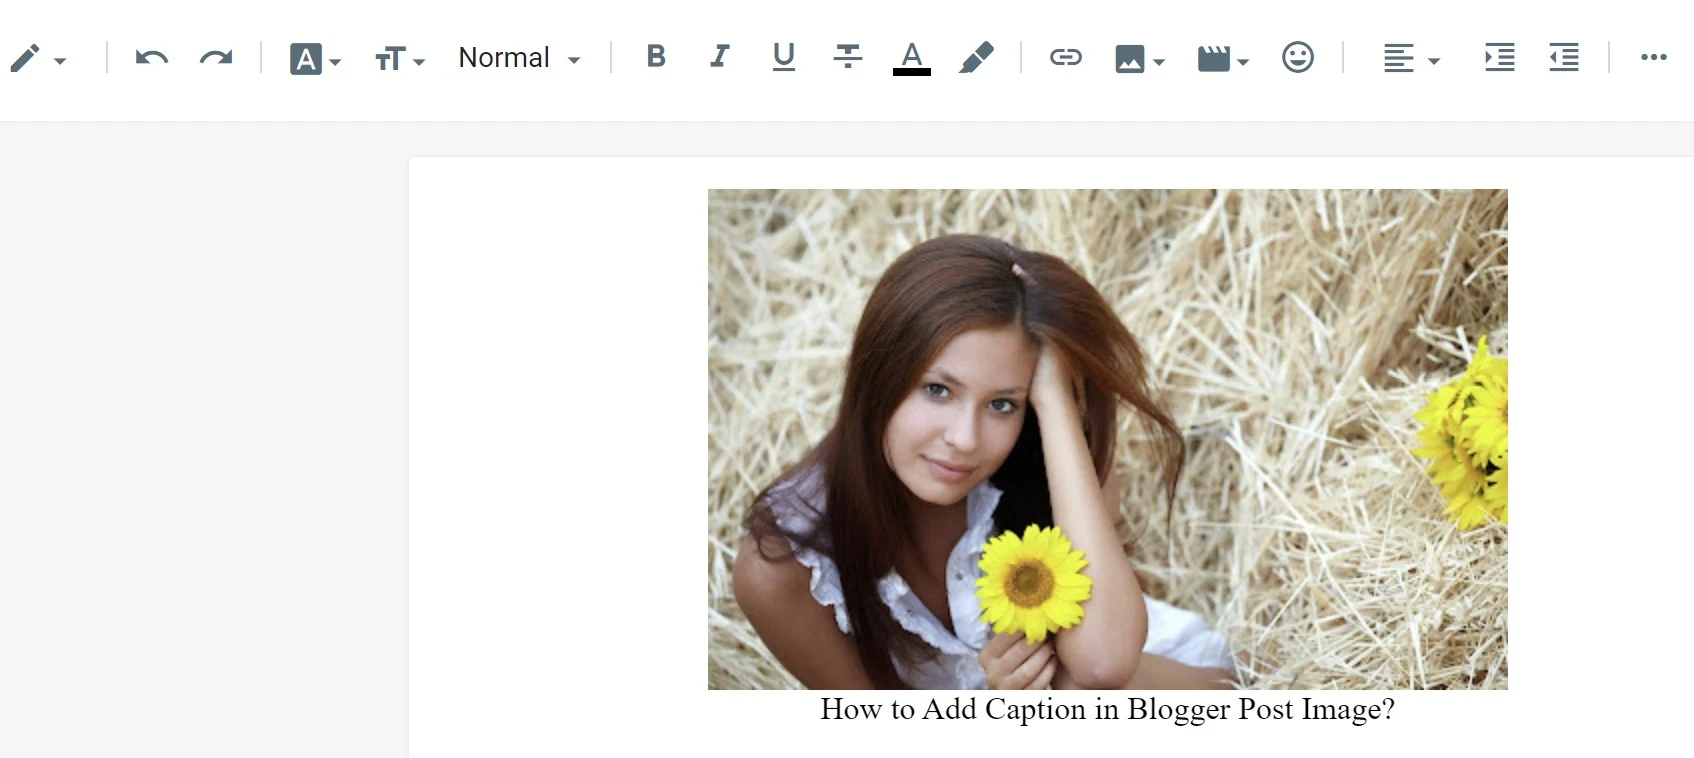
Image. You can change Font Bold or After that Publish your post.

That's it. Now check your post and see your Blog post containing Captions that explain the image.
Adding Some Style to your Caption Image
By following the above steps you will be able to include simple Captions in your Blog Post. But by adding CSS code we can make it more attractive. However, we can able to modify the Caption text, font colour etc. So just add the below code by following the tutorial.
</b:skin> by pressing Ctrl+F </b:skin>
/*Custom Caption Widget by www.bloggerspice.com */
table.tr-caption-container {
padding:5px;
background: #ffffff;
color: #222222;
border: 1px solid #eeeeee;
-moz-box-shadow: 1px 1px 5px rgba(0, 0, 0, .1);
-webkit-box-shadow: 1px 1px 5px rgba(0, 0, 0, .1);
box-shadow: 1px 1px 5px rgba(0, 0, 0, .1);
}
table.tr-caption-container img {
padding: 0;
background: transparent;
border: none;
-moz-box-shadow: 0 0 0 rgba(0, 0, 0, .1);
-webkit-box-shadow: 0 0 0 rgba(0, 0, 0, .1);
box-shadow: 0 0 0 rgba(0, 0, 0, .1);
}
td.tr-caption {
font:100% 'Oswald',Sans-Serif;
font-style: bold;
text-transform: capitalize;
}
Step 5: Now simply hit the Save Button from the top right corner of the screen.
Again check your Blog and see the caption image with a new style. I hope by adding captions to the images your Blog readers will feel comfortable reading the content.
To better explain the Image there hasn't been any alternative to inserting a caption on the image.

8 comments
Thank you.
Snapchat