Add Featured Image or Post Thumbnails in WordPress
Add Featured Image or Post Thumbnails in WordPress
New WordPress user might be face in problem in adding Post
thumbnail or featured image. Because If you use Google blogger platform then
you would see the Blogger template automatically pick first image as post
thumbnail. But in WordPress this is little different. If you just publish your
post without setting featured image then you won't able to see any thumbnail
image on your WordPress site's home page. So for showing Post thumbnail you
must add featured image.
A new WordPress use always face trouble to see the post
thumbnail. Though this is basic but useful for newbie. In this tutorial I will
show you how to set featured Image on WordPress Blog.
Step 1 Sign in to
your WordPress account and from Dashboard Click
on Posts-> Add New
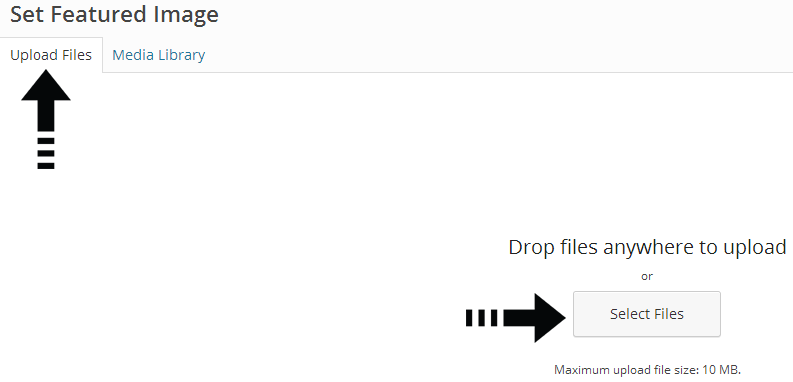
Step 3 From Featured Image Box click on Set featured image text link. A popup Image uploader will appear.
Step 4 From there
click on Upload Files tab -> Select Files And locate the Image
file from your hard drive. WordPress will automatically upload the file.
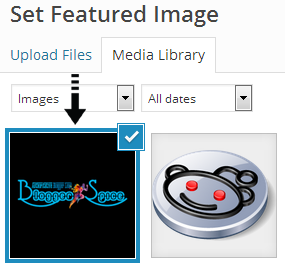
Step 5 Now locate the right
side of the window and see that uploaded Image thumbnail appeared. And from
there click on Set featured image
button.
Step 6 Now locate right site of the panel and see Featured Image Box with recently added featured image. And Publish your post.
Now see your WordPress
Blog. That your post thumbnail or featured image is showing on WordPress home
page. I hope now you can easily add post thumbnail on WordPress Blog. However featured
post image won't display on post body. So if you wish you can add the same
image on Post body. So visitors will able to see the post thumbnail after entering
into the post. But if you think you don't need any duplicate image then just
upload the image and set it in featured post section on WordPress Blog. Thank
you.


Post a Comment