How to Embed New Facebook Page Plugin in Blogger Blog?
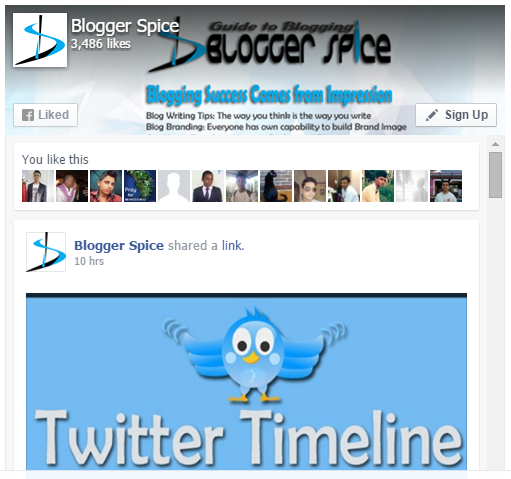
How I can display Facebook like box with Shared content on my Blog and Website? The Facebook New Page plugin lets you easily embed and promote any Facebook Page on your website. Just like on Facebook, your visitors can like and share the Page without leaving your site.
Formerly a
Plugin was released by Facebook which was known as Facebook Activity Feed
Plugin. With the release of Graph API v2.3, the Activity Feed plugin is
deprecated. So those who were using this Plugin on their Blog then they will
see the plugin is not working.
However
after improvement of Graph API v2.3, the Activity Feed plugin has come to us in
new ways which is called Page plugin. This plugin works like magic. Because if
you have integrated this Plugin in your Blog then visitors don’t have to leave
your Blog and website for like and share your page. So I think this is very
useful plugin to reduce bounce rate and visitors will get engaged for longer
time with your Blog or website. However the main features of this Plugin are as
follows-
- Visitors can view your all recent post from your Blog or website.
- Visitor can like your Post.
- Also visitors can share your Post on visitors Facebook profile.
- Readers can share your content through Page Plugin without leaving your Blog or Website.
So this is
really a great Plugin for Blogger. I will show you about integrating this
widget in Blogger site easily. Before that, let me show you about generating your
Page plugin. Just go through the below steps-
Step 1 Visit https://developers.facebook.com/docs/plugins/page-plugin and login
to your Facebook account.
Step 2 Now under Social Plugins from left side select Page Plugin. Instantly Page
Plugin option will expend right side.
Step 3 You have to fill up your Fan page URL
first. Write your Facebook Page URL on Blank field (e.g. https://www.facebook.com/BloggerSpice).
Step 4 For adjusting width and Height select
your desire value. In terms of width you can select minimum 180px to maximum
500px width. And for height minimum
value is 70px.
Step 5 In addition you have some options
like Use Small Header, Hide Cover Photo which is not very important. But remember
to put tick on Adapt to plugin container
width for responsive web layout. And Show
Friend’s Faces to display your current Fans face.
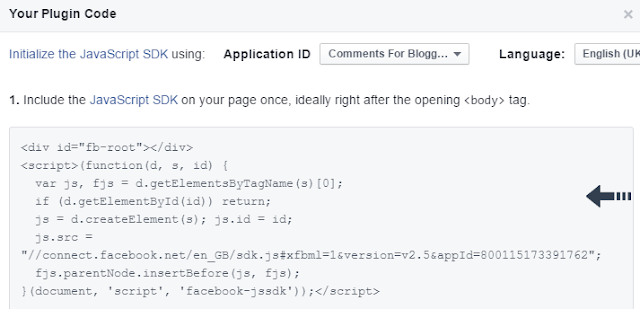
Step 6 Finally click on Get Code button for generating the code. You will get 2 piece of code block. JavaScript SDK and HTML code for Plugin. Both code you have to add in your Blogger
template.
Congratulation you have successfully created Facebook Page Plugin. Now it’s time to integrate the Plugin in Blogger template.
How To add the Facebook Page Plugin in Blogger Template?
Generally
you have to display the Page plugin on the right sidebar of your Blogger
template. So let’s proceed to the tutorial.
Step 1 Log in to
your Blogger account and Go to your Blogger Dashboard
Step 2 Now click
on -> Template -> Edit HTML
Step 3 Locate
the <body> by pressing Ctrl+F (Windows) or CMD+F (Mac)
Step 4 Paste the
JavaScript
SDK code After/Below <body>
Step
5 Now click Save template button.
Step 6 Now go to
your Blogger Dashboard
Step 7 Go to
your Layout tab.
Step 8 Click on "Add
a Gadget" then select "HTML/JavaScript" Gadget. Leave
the Title field blank.
Step
10 And finally click orange color Save button. You’re
done!
Now check your
Blogger template to see the Facebook page plugin. Your Blog visitors will now
able to like, share and comment on your content without leaving your Blog site.
I hope you would like it. For any further help feel free to leave a comment
below.


Post a Comment