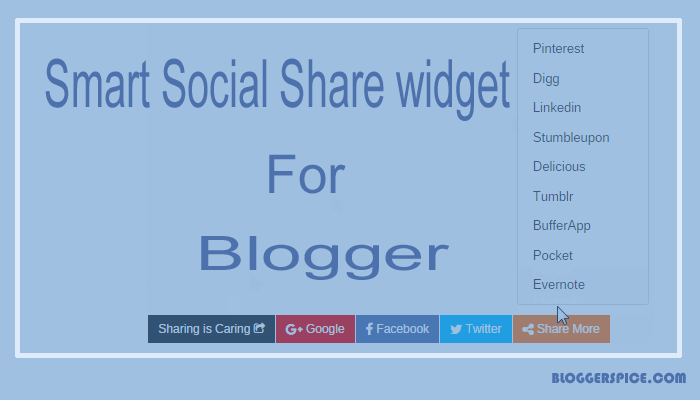
Smart Social Share widget for Blogger Template
How to add a Smart Sleek Social Share widget Below Blog Post Title and at the end of your Blog Post?
There is no doubt that social sharing
widget can boost up content promotion around the web. While readers feel
interest or like your article or tutorial then they tend to be share on their
social media profile. As a result it helps to spread your content URL firmly.
Many Blogger do this mistake that they don’t add social sharing widget on their
site. Or they add social sharing widget in wrong place.
There are 2 most productive spaces
where social sharing widget can be effective to triple your content sharing by
your Blog readers.
- Below Blog Post Title
- End of the Blog Post
Most of the readers tend to click on those
spaces. So by placing social media share widget you increasing your content
sharing chances. But for this you need a Smart and simple social sharing widget
which looks professional and fast loading.
In this tutorial I am sharing with you
a smart sleek social sharing widget which will help your Blog readers to share
your content smart way.
In this widget only JavaScript has
used and this is very fast to load. The widget is looks like Add this widget
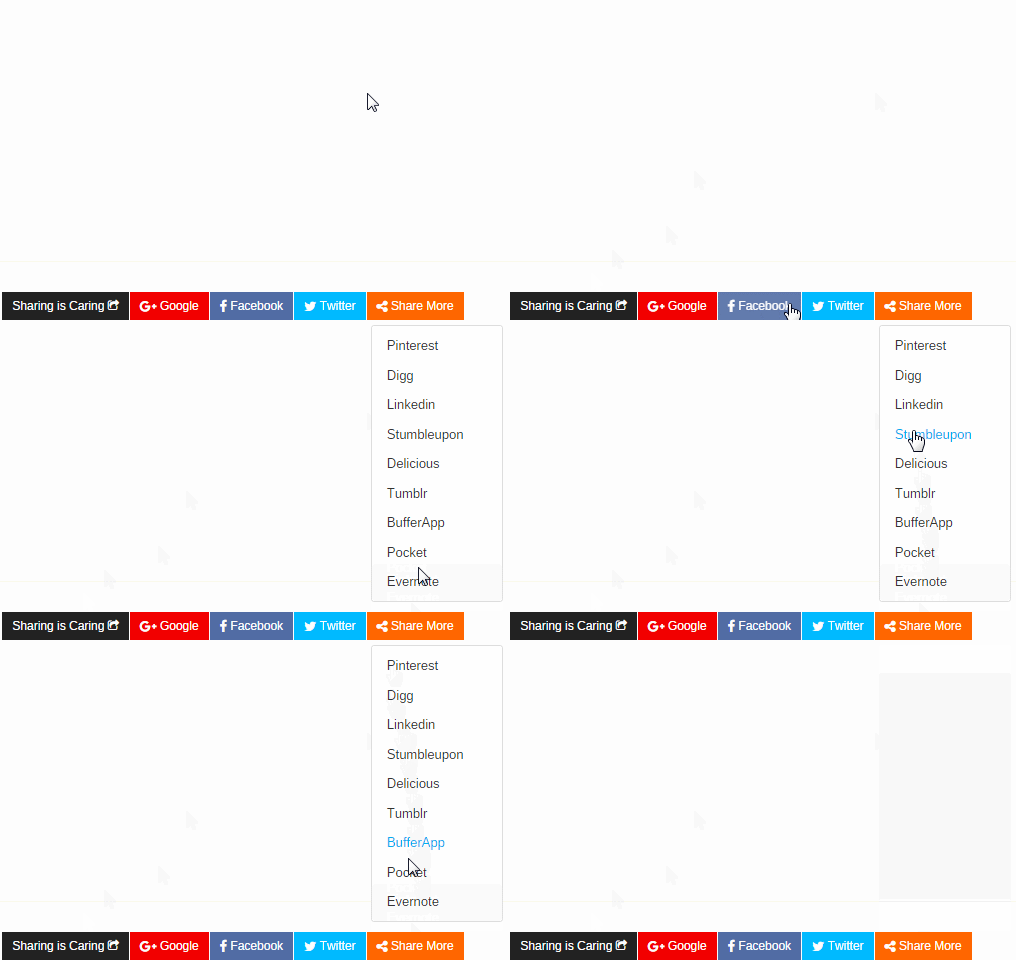
but this is completely different. I have included Facebook, Twitter, Google
Plus, Digg, Linkedin, Stumbleupon, Delicious, Tumblr, BufferApp, Pocket, Evernote
and Pinterest. And for the hidden option only 3 sharing option is visible and rest
of them remains hidden. After click on share
more button more sharing option will be visible.
Step 1 Log in to your Blogger
account and Go to your Blogger Dashboard
Step 2 Click on -> Template -> Edit HTML
Step 3 Locate <head> and copy the below Font
Awesome script and paste it below <head>
<link href='//netdna.bootstrapcdn.com/font-awesome/4.5.0/css/font-awesome.min.css' rel='stylesheet'/>
Step 4 Now Find this ]]></b:skin> by
pressing
Step 5 Paste the below script Before/above ]]></b:skin>
/* Smart Share widget by http://www.bloggerspice.com */
.smartshare,.sharewrap{position:relative;display:block;font-size:0;margin:auto;text-align:center}
.sharewrap{display:block;text-align:center;margin:30px 0 0 0}
.sharewrap a.sb,.sharewrap a.fb,.sharewrap a.gp,.sharewrap a.tw,.sharewrap span.pl{text-decoration:none!important;display:inline-block;margin:0 .5px;font-weight:400;font-size:12px;color:#fff;text-shadow:none;padding:6px 10px;opacity:1;transition:all .3s}
.sharewrap a.sb {background:#222222;}
.sharewrap a.gp {background:#f20000;}
.sharewrap a.fb {background:#516ca4;}
.sharewrap a.tw {background:#00baff;}
.sharewrap span.pl {background:#ff6600;}
.fbbutback,.googlebutback,.plusbutback,.twbutback{font-size:13px!important;vertical-align:middle}
.sharewrap a.fb:hover,.sharewrap a.gp:hover,.sharewrap a.tw:hover,.sharewrap span.pl:hover{color:#fff;opacity:.9}
.sharewrap a.fb:active,.sharewrap a.gp:active,.sharewrap a.tw:active,.sharewrap span.pl:active{box-shadow:inset 0 1px 0 rgba(0,0,0,.16)}
span.pl{color:green;cursor:pointer}
#sharepop{display:none}
.sharepopup{position:absolute;bottom:100%;right:15%;z-index:99;float:left;min-width:100px;padding:5px 10px;margin:0;font-size:13px;text-align:left;list-style:none;background-color:#fff;-webkit-background-clip:padding-box;background-clip:padding-box;border:1px solid #ddd;border-radius:3px;}
.sharepopup li{list-style:none!important;margin:0!important;padding-left:0!important;line-height:1.8em!important}
.sharepopup li a{color:#333!important;font-weight:400;display:block}
.sharepopup li a:hover{color:#078FF8!important}
ul#sharepop{margin:10px 0;padding:5px 15px}
Step
6 Now again Find this code <data:post.body/> or <div
class='post-footer'> by pressing Ctrl+F (Windows) or CMD+F (Mac)
Step 7 Paste
the below code below/after <data:post.body/> or <div
class='post-footer'> and for placing the widget below Blog post title then paste the script above/after
<b:if cond='data:blog.pageType != "index"'>
<b:if cond='data:blog.pageType != "archive"'>
<b:if cond='data:blog.pageType == "item"'>
<script type='text/javascript'>
//<![CDATA[
var siteurl = window.location.href;
document.write('<div class="sharewrap"><div class="smartshare"> \
<a class="sb" <h2>Sharing is Caring </h2><i class="fa fa-share-square-o"></i></a> \ \
<a class="gp social-popup" href="https://plus.google.com/share?url=' + siteurl + '" target="_blank" title="Share to Google+">\
<i class="fa fa-google-plus googlebutback"></i> Google</a> \
<a class="fb social-popup" href="https://www.facebook.com/sharer/sharer.php?u=' + siteurl + '" target="_blank" title="Share to Facebook">\
<i class="fa fa-facebook fbbutback"></i> Facebook</a> \
<a class="tw social-popup" href="https://twitter.com/intent/tweet?text='+encodeURIComponent(document.title)+'&url='+siteurl+'" target="_blank" title="Share to Twitter">\
<i class="fa fa-twitter twbutback"></i> Twitter</a> \
<span class="pl" data-target="#sharepop"><i class="fa fa-share-alt plusbutback"></i> Share More</span> \
<ul class="sharepopup" id="sharepop"> \
<li><a class="social-popup" href="javascript:pinIt();">Pinterest</a></li> \
<li><a class="social-popup" href="//www.digg.com/submit?url=' + siteurl + '" target="_blank" title="Share This On Digg">Digg</a></li> \
<li><a class="social-popup" href="//www.linkedin.com/shareArticle?mini=true&url=' + siteurl + '" target="_blank" title="Share This On Linkedin">Linkedin</a></li> \
<li><a class="social-popup" href="//www.stumbleupon.com/submit?url=' + siteurl + '&title='+encodeURIComponent(document.title)+'" target="_blank" title="Share This On Stumbleupon">Stumbleupon</a></li> \
<li><a class="social-popup" href="//delicious.com/post?url=' + siteurl + '&title='+encodeURIComponent(document.title)+'" target="_blank" title="Share This On Delicious">Delicious</a></li> \
<li><a class="social-popup" href="http://www.tumblr.com/share/link?url=' + siteurl + '&name='+encodeURIComponent(document.title)+'&description='+encodeURIComponent(document.title)+'" target="_blank" title="Share This On Tumblr">Tumblr</a></li> \
<li><a class="social-popup" href="http://bufferapp.com/add?text='+encodeURIComponent(document.title)+'&url=' + siteurl + '" target="_blank" title="Share This On BufferApp">BufferApp</a></li> \
<li><a class="social-popup" href="https://getpocket.com/save?url=' + siteurl + '&title='+encodeURIComponent(document.title)+'" target="_blank" title="Share This On Pocket">Pocket</a></li> \
<li><a class="social-popup" href="http://www.evernote.com/clip.action?url=' + siteurl + '&title='+encodeURIComponent(document.title)+'" target="_blank" title="Share This On Evernote">Evernote</a></li> \
</ul> \
</div><div class="clear"></div></div> \
');
$(document).ready(function(){$(".pl").click(function(){$("#sharepop").slideToggle("fast")})});
function pinIt(){var t=document.createElement("script");t.setAttribute("type","text/javascript"),t.setAttribute("charset","UTF-8"),t.setAttribute("src","https://assets.pinterest.com/js/pinmarklet.js?r="+99999999*Math.random()),document.body.appendChild(t)};
//]]>
</script>
<div class='clear'/>
</b:if>
</b:if></b:if>
Step 8 Now hit the Save template button.
Now check your any Blog post and see smart social sharing
widget displaying on your posts. This widget only display in your post page
because I have used conditional tag. But my recommendation is to add this
widget at the end of the Blog post. Because if you have placed advertisement
below of your Post title then your Blog visitors may not like it.
Let me know how is going on your new smart social
sharing widget after adding it on your Blogger template.


18 comments
/* CSS Share Button */
#button-share{background:#34495e;color:#fff;line-height:45px;padding-left:10px;}
#button-share h2{font-size:22px;line-height:40px;margin:0;text-transform:uppercase;display:inline}
#button-share h2 span{background:#2c3e50}
#button-share a{position:relative;font:normal 13px 'Oswald',sans-serif;color:#fff;text-transform:uppercase;padding:10px;box-shadow:1px 1px 1px #222}
#button-share a:hover{background:#222}#button-share a:hover span{color:#222}
#button-share a span{line-height:40px;width:40px;padding:10px 0px;top:0;}
#button-share a span.fb{background:#436FC9;padding:10px;margin-left:-10px;}.fb{background:#3967C6}
#button-share a span.tw{background:#40BEF4;padding:10px;margin-left:-10px;}.tw{background:#26B5F2}
#button-share a span.gp{background:#EC5F4A;padding:10px;margin-left:-10px;}.gp{background:#E94D36}
#button-share a span.pin{background:#DB232B;padding:10px;margin-left:-10px;}.pin{background:#CB2027;}
#button-share a span.lindn{background:#0976b4;padding:10px;margin-left:-10px;}.lindn{background:#087EC1}
#button-share a span.stumble{background:#F54E27;padding:10px;margin-left:-10px;}.stumble{background:#EB4924}
and
<div id="button-share">
........................
........................
........................
........................
</div>
after that save the template
:-bd
Your template could not be parsed as it is not well-formed. Please make sure all XML elements are closed properly. XML error message:
Content is not allowed in prolog. what can I do now?
Best RPA Training in Bangalore