How to Add Multi-Column Theme Featured Content in Blogger?
How to use column shortcodes in Blogger? You can integrate this Advanced Blogger column to display your Blogger template or WordPress theme features.
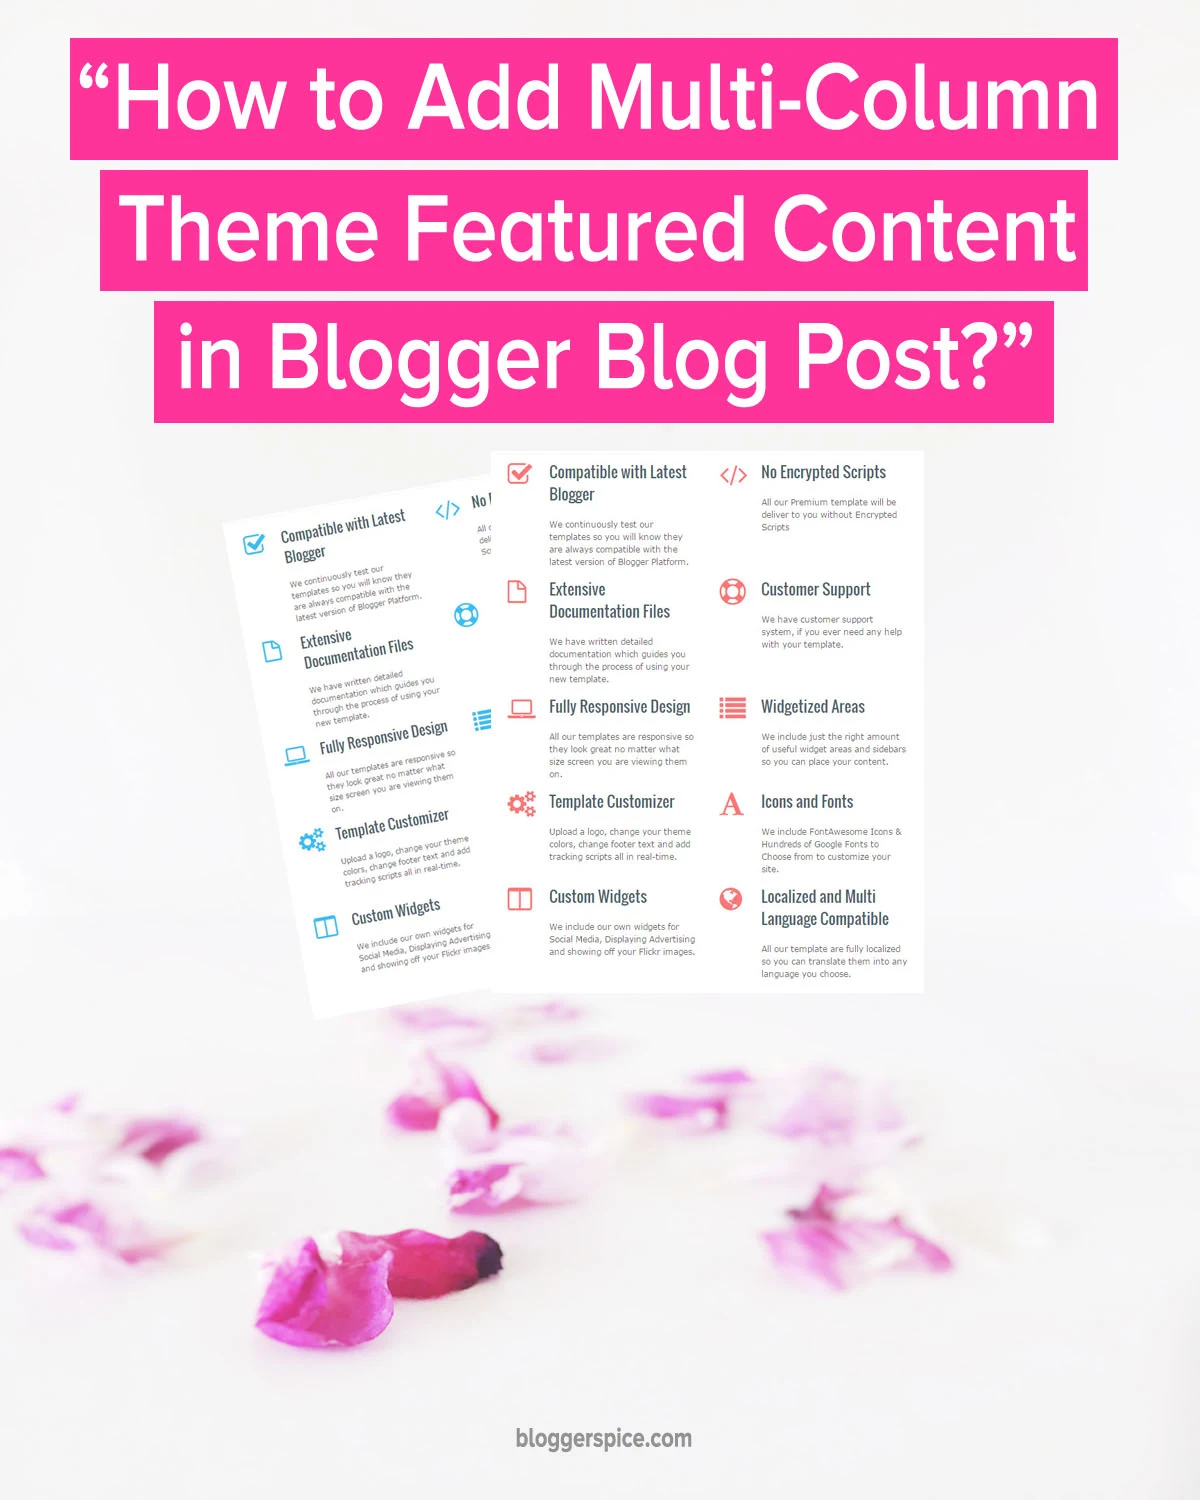
You have already noticed in WordPress theme selling sites they frequently display theme features within multiple boxes. Generally it shows side by side in 2 columns. In many website this job done by using simple image.
But if you use large image then it can affect your content loading speed. In Blogger site this is more difficult to create multi-box inside Blog post.

Even in the most popular web design selling site themeforest you will see they are simply using large image to display theme or template features inside content body.

Even in the most popular web design selling site themeforest you will see they are simply using large image to display theme or template features inside content body.
 |
| Multi-Column Theme Featured Content in Blogger Blog Post |
But I will show you a simple way to create multi-Column Theme or template Featured Content in Blogger Blog post. However to make it more attractive I will use FontAwesome icons. Please follow the guidelines to integrate multi-column Theme Featured Content in Blogger Blog post.
Step #1: Log in to your Blogger Account and go to Dashboard
Step #2: From vertical options click on
Template ->Edit HTML->
Step #3: Now Find this code
]]></b:skin> by pressing Ctrl+F (Windows) or CMD+F (Mac)
Step #4: (Optional) If your Blogger template already containing FontAwesome file then simply skip this step, If not yet integrated then add the below FontAwesome script before/above
</head>
Step #5: Once you added the FontAwesome script, copy the below code block and Paste it code Before/above
]]></b:skin>/* Trick by www.bloggerspice.com */
Step #6: You can simply change the multi-column icon color by altering
color:#FA5356 color code. Once you have change the color code click Save template from the top.
We have completed the CSS Part that will help to tweak your multi-column appearance. But without HTML this is pointless. HTML script you have to add each time on specific post where you want to display the theme or template features. Please follow the instruction from below.
Step #1: Go to your Blogger Dashboard Click
Posts -> New post you will head to post editor.
Step #2: Now switch to
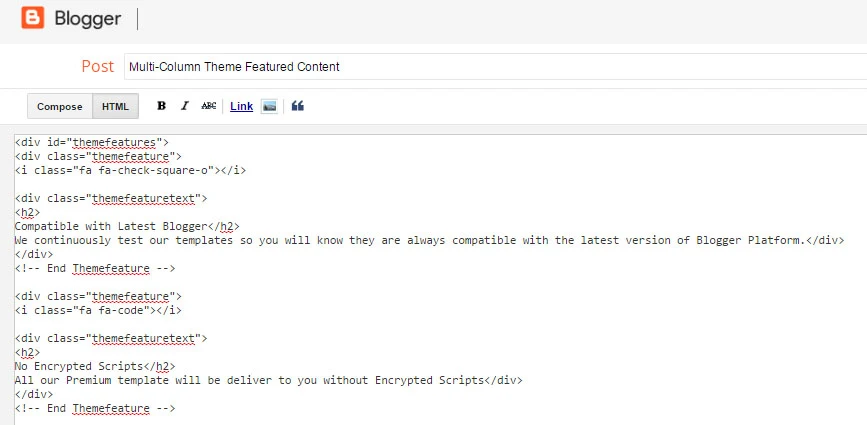
HTML editor from Compose editor. Here you should add the widget code.
Step #3: Copy the HTML script from below. Remember that in some blogger site after adding script if you switch to Compose editor and publish the post then script can be break. So first write your post in Compose editor and then switch to HTML editor and add the widget script.
Step #4: Finally hit the
Publish button to make it live.
Check your Blog post now and see beautiful multi-column theme featured in your Blog post. Some pre-caution you should take after adding this widget. In future if you edit your post then you must edit your post in HTML editor and update it in HTML editor. This multi-column featured table simply crushes if you update your content in Compose editor.
I hope you would like this widget and you can discuss below for any further help. I would try to help you with my level best. Thank you.

6 comments
How are you?
I need your help again. Actually i am trying to add Contact Form in my blogger template. When i add Contact Form it is added successfully but it is not shown in my blogger layout and also when i see the preview or visit the page there is no contact form appear. Will you please help me
Thanks in advance
Please locate the below code line from your Blogger theme
#navbar-iframe,.ContactForm,.comment-content a {display:none !important;}
now replace it by below code line.
#navbar-iframe{display:none !important;}
I hope now contact widget will display in your layout section.
Thank you. :up
its Working Thankxxx..
I am very glade to hear that. :up