How to Add Fast Emoji Reaction Bar Buttons with Counter in Blogger?
Do you want to engage with your readers and find out what they think about your blog post after they've read it? Then this tutorial is clearly only for you.
Reaction buttons allow your visitors to interact with your content quickly and fun way. This looks great on every device and is easy to install.
Though the Blogger platform has integrated the reaction feature, but it does not quite eye-catchy. For this reason, people outsource to add this feature from other third-party sources. Whenever you need to use a third party widget then you must be more cautious.
We have brought ShareThis emoji widget which is the most credible resource for almost all blogging platform.

What is a Reaction Bar?
The Reaction bar is a convenient way for visitors to provide feedback without having to comment. It's just another way of engaging your visitors, and it'll help you assess your blog's quality. because the majority of users are lazy when it comes to leaving a comment. So it's preferable to provide your readers with a one-click feedback option.
Reaction buttons can be shown on your Blogspot/Blogger or WordPress blog. Using the ShareThis reaction feature, here's a quick and easy way to add reaction buttons to any site.
Feature of ShareThis Reaction Button?
ShareThis Reaction buttons allow your visitors to interact with your blog article in a fun and effective way. This is easy to install and customize. Moreover, it looks fantastic on any device and screen size. You've probably seen it on many popular blogs or websites. It also appeals to me. Because It's fantastic. You will able to add 6 reaction buttons together, including:- Like
- Love
- LOL
- WOW
- Sad
- Angry
However, the best part of this feature is you may add reaction buttons to your site with just a few simple clicks.
The ShareThis Reaction Widget aims to make it easier for visitors to determine whether or not an article is suitable for viewing. By using this share button widget, readers will be able to share their reaction more simplified way.
How to Install a Reaction Button on a Blog with a ShareThis Widget?
We will guide you through this tutorial on how to install the ShareThis Reaction Button in your Blogger theme. Because Google's blogger is a popular platform among students and beginners. Furthermore, it appears responsive and can be customized to our preferences. Please follow the below steps to install the ShareThis widget.
Step #1: Please visit the ShareThis website and first you need to create an account first.
Step #2: To register, click 'Sign up', Please complete your personal information such as e-mail and password. Or you can log in with a Google account and Facebook.
Step #3: After logging in visit the ShareThis Dashboard, select the ‘Settings’ from the left menu.
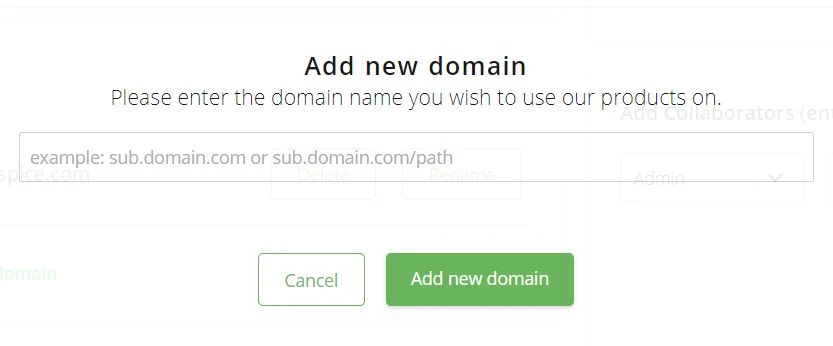
and under ‘Domains’ click ‘+Add new domain’ to add your domain name.
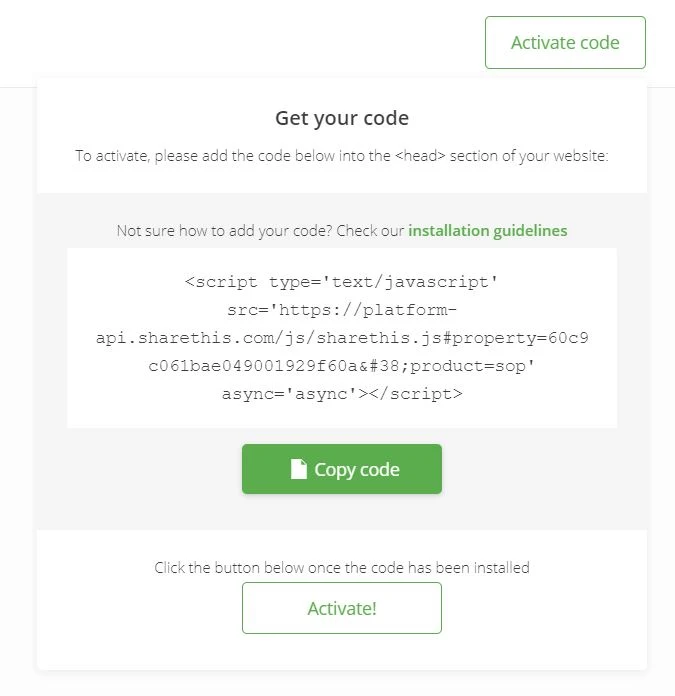
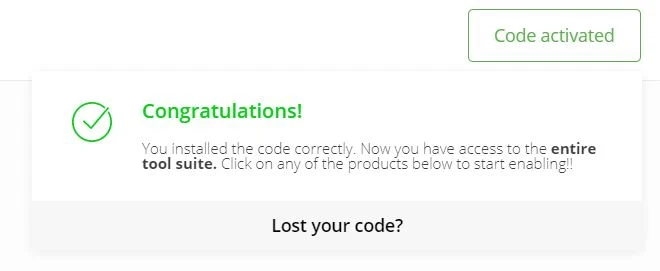
Step #4: After that from the top right corner click the ‘Activate Code’ button. Copy the code from the box.
The code will look like below:
<script type='text/javascript' src='https://platform-api.sharethis.com/js/sharethis.js#property=60c9c061bae049001929f60a&product=sop' async='async'></script>Step #5: Now login to your blogger account and click ‘Theme’ from the left menu.
Step #6: Click the arrow down icon next to the 'customize' button. And select ‘Edit HTML’
Step #7: Place the code above/before </head> and then Save your theme by clicking this icon.
If an error notification shows after pressing the save theme button, please add the amp; code, as shown in the ShareThis javascript code.
You can encode the code by using our parser.
Step #9: Now click ‘Apps Directory’ from the ShareThis Dashboard. Scroll down and click the ‘Reaction Buttons’ button
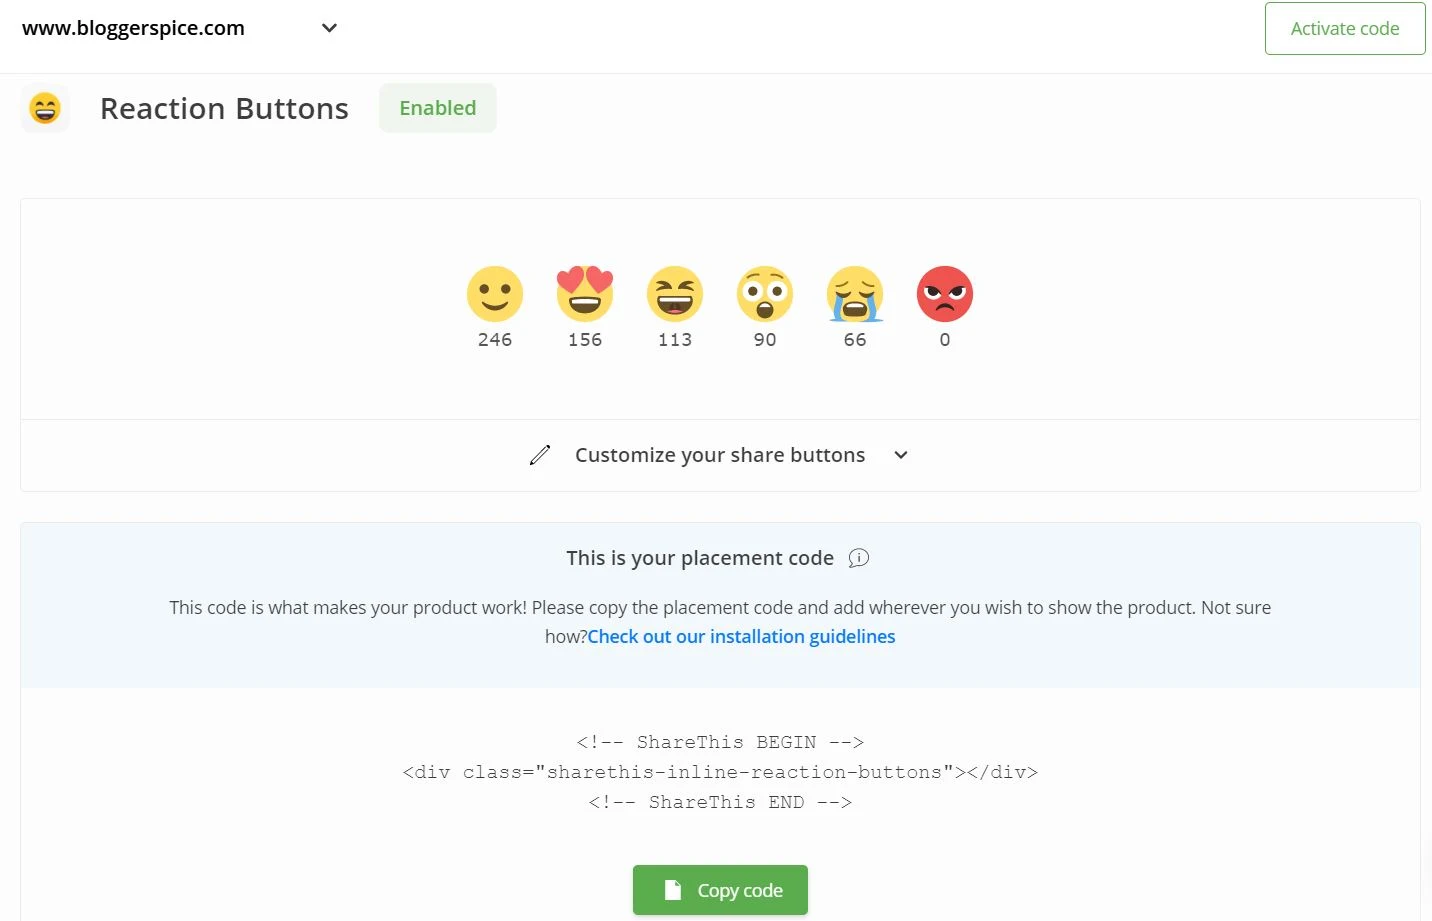
Step #10: Click the ‘Enable tool’ button. Instantly the feature status will change to ‘Enabled’.
Step #11: You will see code like below and simply copy the script by click on the ‘Copy code’ button.
Step #12: Again Edit your Blogger theme and locate <data:post.body/> and Place the above code before/above the code <data:post.body/> or you can copy the code from below.
<!-- ShareThis BEGIN --><div class="sharethis-inline-reaction-buttons"></div><!-- ShareThis END -->
Step #13: Save your theme by clicking this icon .
You are done. You can see the reaction button at the bottom of your all blogger blog post. And your visitors can leave a reaction with a simple click.
If you would like to make any changes or reduce the number of reaction style then simply make all of the changes in your ShareThis APP dashboard if you want to edit your Reaction Buttons.
This concludes the tutorial. If you have any questions or recommendations, please leave a comment below. Please share this blog post if you enjoyed it!
Good luck with your blog!




7 comments